
Shed Bases
Elevated, permeable footings for wooden garden sheds.
Recommended systems for this application
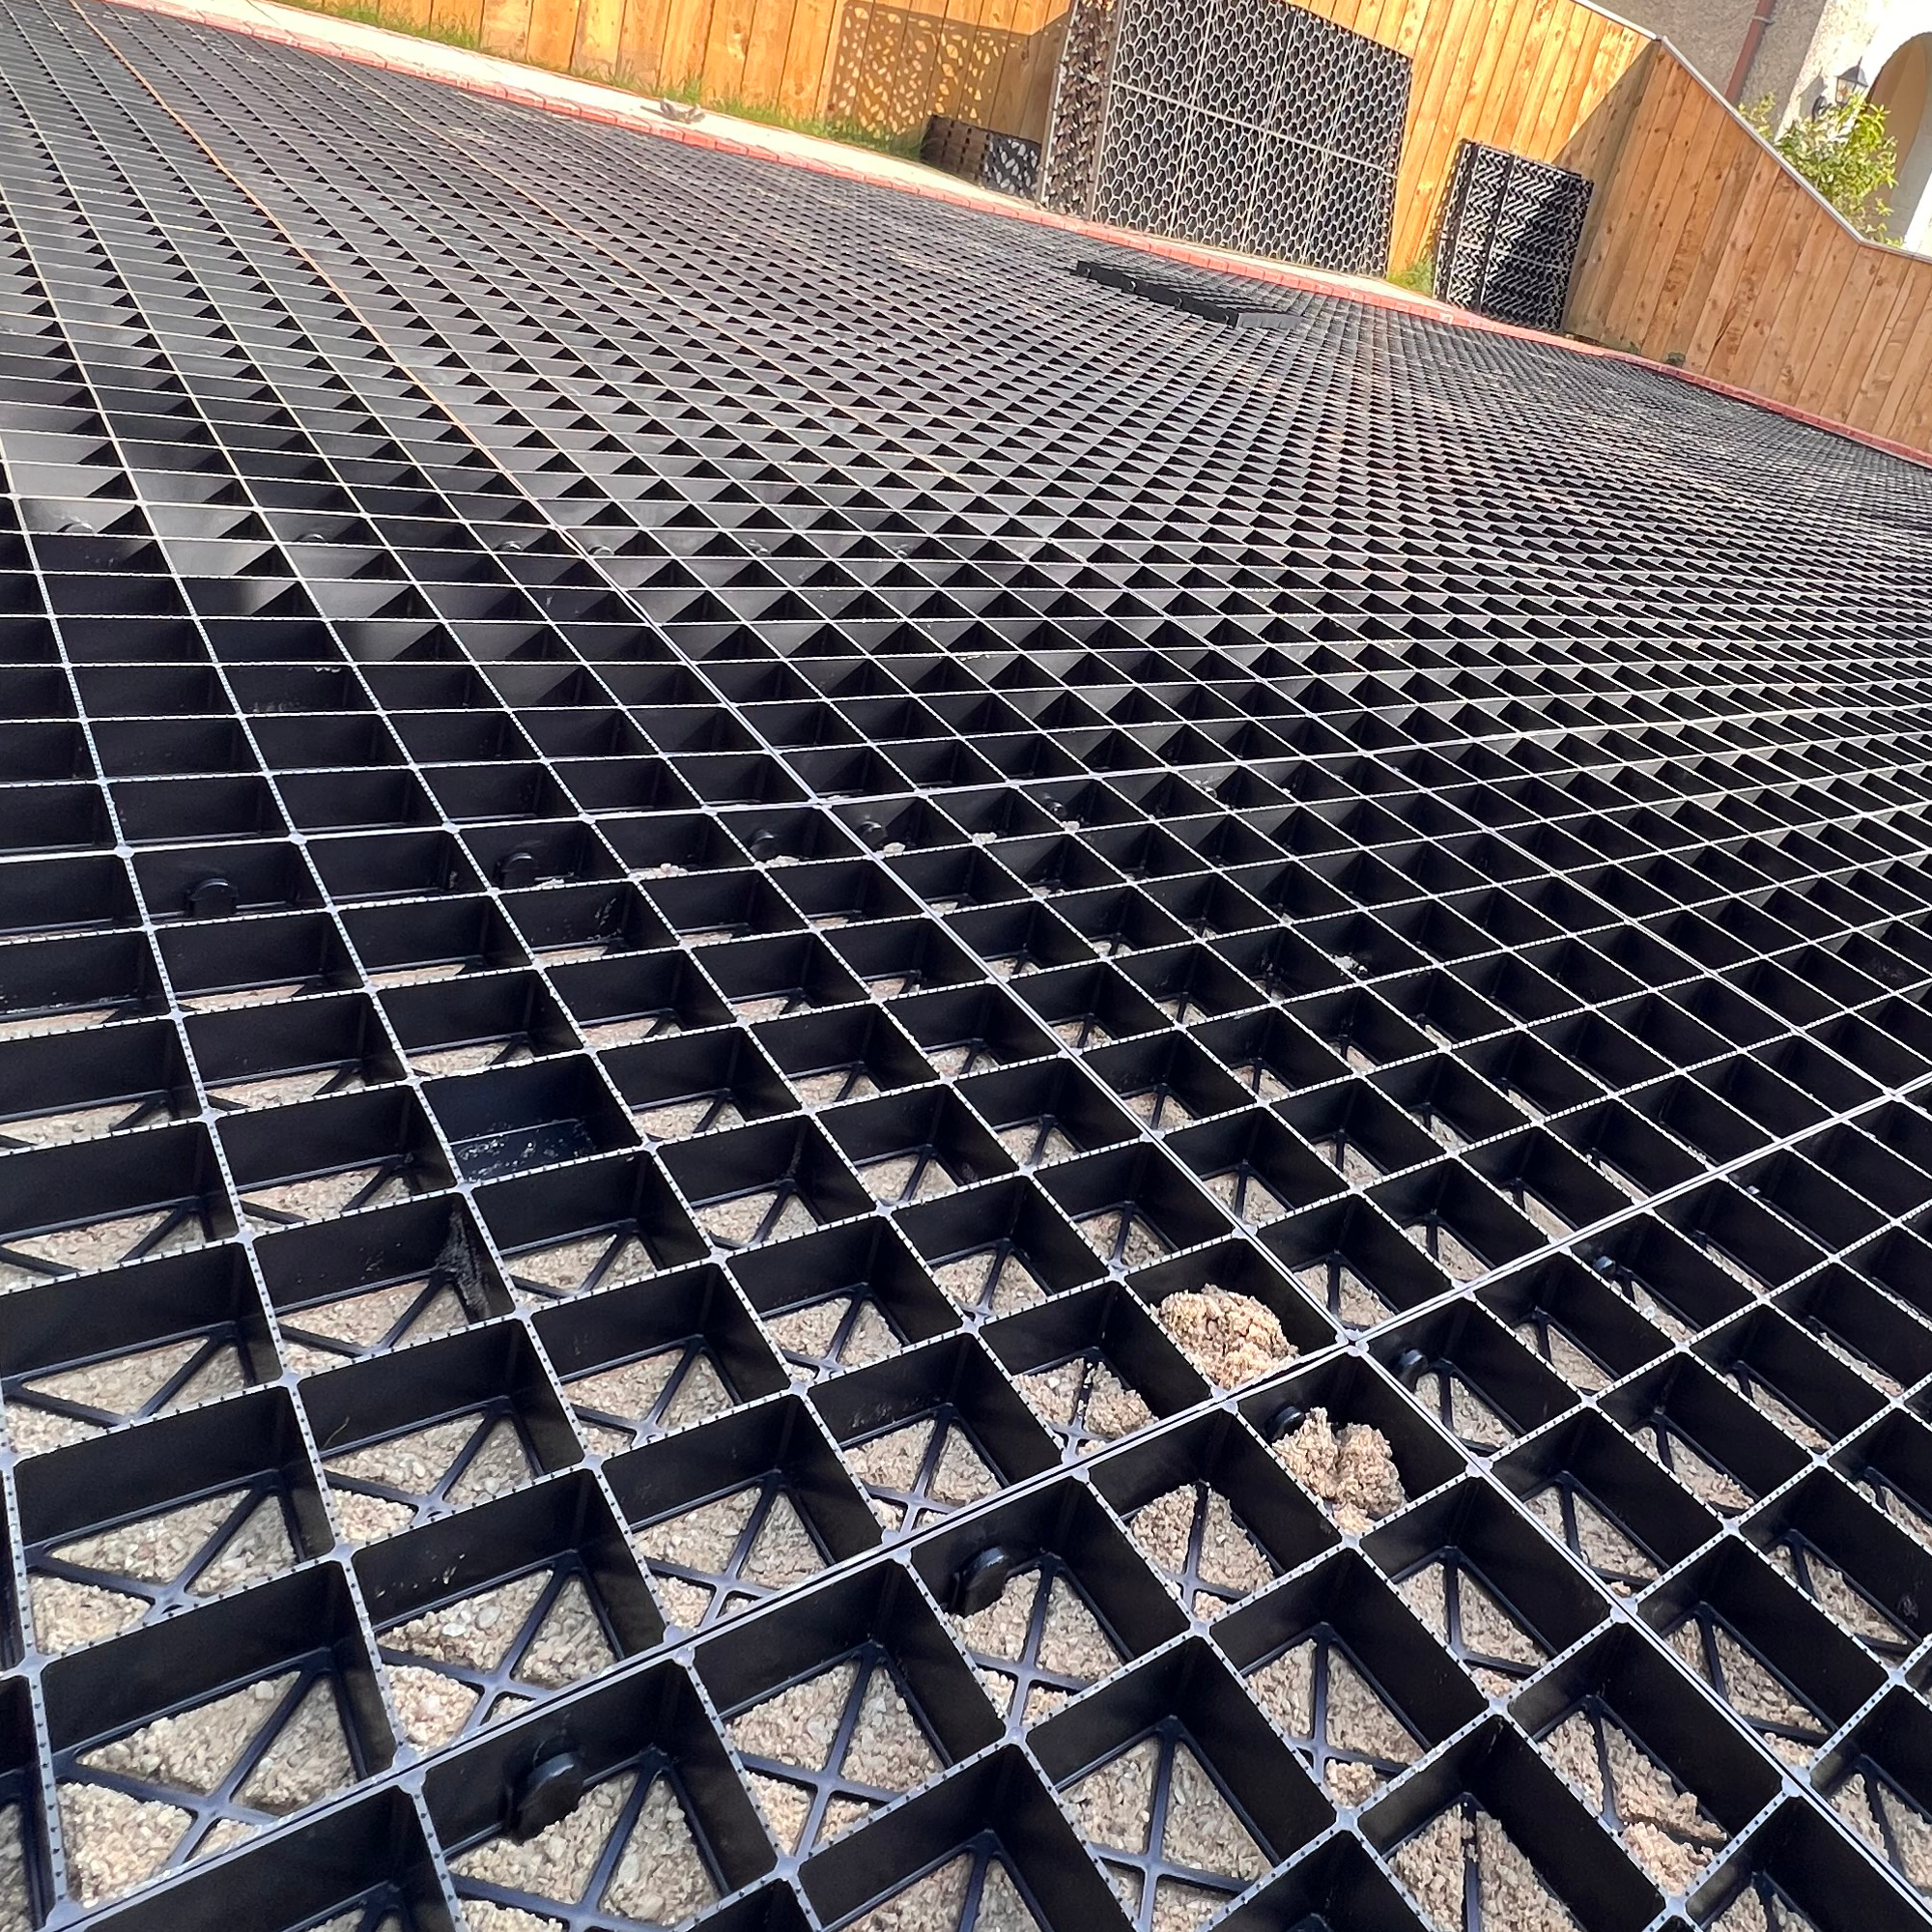
Why reinforcement matters here
Concrete shed bases crack, hold water against the timber and are a serious job to remove. A grid base spreads the load evenly, drains straight through so the underside of the shed stays dry, and can be lifted and relaid if you ever move the building. For most domestic sheds it is both cheaper and faster.
Where this works well
At a glance
| Sub-base | 50mm MOT Type 1 for a standard timber shed; 150mm for masonry or a heavily loaded workshop |
|---|---|
| Infill | Angular 10-20mm gravel filled level |
| Typical loading | Timber and metal garden buildings; masonry with a deeper sub-base |
| Permeability | Fully permeable. Normally treated as a SuDS component in a drainage strategy. |
| Design life | 25 years, subject to documented installation. |
| Material | 100% recycled polypropylene, made in the UK. |
How it goes in
- Mark out the area and excavate to the depth of your sub-base plus the grid depth plus your infill blinding.
- Lay a woven geotextile across the formation, lapping joins by at least 300mm. This stops the sub-base and the subsoil mixing.
- Lay and compact the sub-base: 50mm MOT Type 1 for a standard timber shed; 150mm for masonry or a heavily loaded workshop. Compact in layers rather than all at once.
- Blind the sub-base with a thin layer of grit sand and screed it level. This is what gives you a flat finished surface.
- Push-fit the grids together across the area, working from one edge. Cut around obstacles with a jigsaw or fine-tooth saw.
- Fill the cells: Angular 10-20mm gravel filled level. Work the fill in with a stiff brush so no cell is left hollow.
- Check the finished level. Nothing should stand proud of the cell walls, and no cell should be left under-filled.
Most installations are straightforward groundwork. The grids themselves push-fit together and need no fixings, adhesive or specialist tools.
Which grid depth?
The 40mm general duty grid is the standard specification for garden building bases. Step up to the 30mm heavy duty grid for masonry buildings, loaded workshops or anywhere a vehicle will cross the base.
If you are between two options, take the heavier duty one. The cost difference across a typical project is small next to the cost of lifting and relaying a surface that was under-specified.
The mistake we see most often
Building the base to the exact footprint of the shed is the classic error. Rain running off the roof then lands on soil right at the edge and undermines it. Always extend past the building.
Common questions
How much bigger than the shed should the base be?
Extend at least 50mm past the shed footprint on every side so rain runs off the building onto the base, not the soil.
Do I need to lay a membrane?
Yes. A woven geotextile between the sub-base and the subsoil stops the two mixing and prevents weeds coming through.
Can I put a heavy workshop on it?
Yes, with a deeper sub-base. For a masonry or heavily loaded building, use 150mm of compacted MOT Type 1.
What do I fill the cells with?
Angular 10mm to 20mm gravel, filled level. It keeps the base free-draining and gives a firm bearing surface.
Do I need bearers on top?
Timber bearers are still good practice. They lift the floor clear and let air move underneath, which is what keeps the boards dry.
Can I level a sloping site with it?
Not on its own. Cut and fill to level the sub-base first, with an edge restraint on the downhill side.
Ask our engineer
Questions about depths, sub-base, edging or which system fits your project? Ask below.